� at32,Wyn32 2002
| |
[ Home ]
| |
 Webcam Uploader: at32 Comedy Webcam
| | | |

at32 Comedy Webcam
|
[ Back to Help ]
Getting the best output quality from your webcam
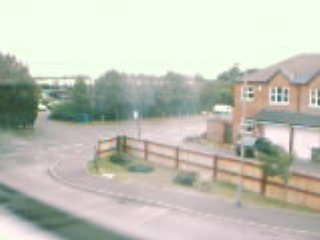
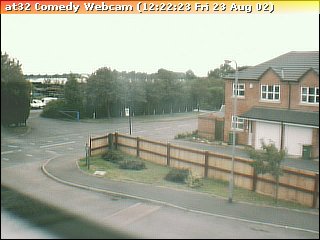
Compare these three images (all output from a single cheap webcam costing a mere 30 notes):

The first image above is the raw cameras output when the program is first installed.

We then clicked Source Setup - Source and increased the resolution to maximum (in this case, our camera supported up to 640x480 res). Then, we went into Output - Image Settings and made sure Resize Image was ticked - this was because we didn't want to upload large 640x480 image each time. Instead, we entered 320x240.
The reason we didn't select 320x240 in the Camera's source field was so that we could get all the detail from the high resolution image, then let the software anti-alias this into a hi-quality smaller image. This always results in a better image than simply taking the cameras output out directly, and what's more the process is very quick - just a few ms.
Now look at the final image:

This is the same image as before, but with a Sharpen More effect attached. Compared to the first image, and indeed even the second one the detail and clarity in the image rivals that of a still camera!
Note that dark indoor images can often be too grainy to apply the Sharpen More filter without actually making the image quality worse. However, Sharpen should be able to improve almost all images that come from a large source frame.
[ Back to Help ]
|
| | | |
|


