� at32,Wyn32 2002
| |
[ Home ]
| |
 Webcam Uploader: at32 Comedy Webcam
| | | |

at32 Comedy Webcam
|
[ Back to Help ]
Overlays
A powerful tool, this can be used for branding the camera output with a logo - or simply having a bit of fun.
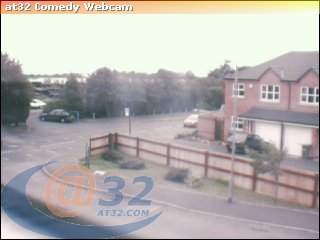
An alpha blended logo like that shown above can look professional and also give you camera output a unique feel. The options for setting this up are relativly simple. Once you have chosen the filename, simply select the corner in which you want to place the image.
The above image also uses a "transparent color key" area, so that the logo does not have a background rectangle behind it. The simplest way to make areas transparent is to paint them white (or black), and make sure the transparency box is ticked. It helps if the background color you want to turn transparent is similar to the brightness of the image.
Make sure that the transparent color key is the same as the background of the overlay bitmap you want to mask - otherwise you'll just get a rectangle.
Check out this other amusing example:
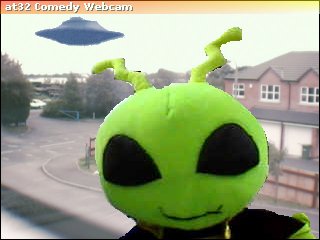
This image consists of two overlays (no, the alien is not simply a puppet in front of the camera!). To get the UFO to appear away from the top left hand corner, we simply added a few extra blank pixels to it's bitmap.
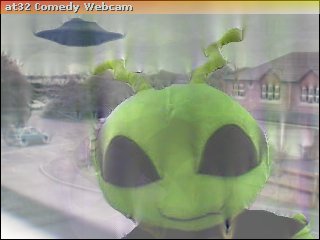
The above image is the same as before, but with the "Apocalypse" special effect applied and toned down the amplitude slider, and then the "bleed edges" special effect is added to. This compliments the sci-fi theme of the composite image, and also helps hide any give-away seams between the layers to make it look more convincing!
Captions
 This is a simple but valuable tool, allowing you to add text to anywhere on the output image. This is a simple but valuable tool, allowing you to add text to anywhere on the output image.
The system is fairly self explanatory, once you have enterered your text and chosen font properties you simply click on the camera output area to choose location. The bounding box represents size.
Note that you can also choose an alpha value for the text - like the example above which is about 50%.
Blend Frames
 This is a CPU-intensive set of routines, but can occasionally find a use in a variety of roles. This is a CPU-intensive set of routines, but can occasionally find a use in a variety of roles.
The most common is real motion blurs (not to be confused with the motion blur special effect, which doesn't take into account the actual motion in the scene). This works by storing up to 30 images in memory, then blending them altogether into one.
There are a number of blend options available, it's best to experiement with them to see what works best. Also, be aware that the preview frame rate also effects the capture frequency. Note that if you have a very high capture frequency, a high resolution selected and are processing a large number of frames at once the system may become quite slow on older machines. A Pentium 4 copes quite well though, even with all options set to their maximum.
Split Matrix
This is a progammable array of 9 additive and subtractive images that can have their weightings changed to obtain various custom effects.
There are five numerical values you can edit, 4 in each corner - and one in the middle. What happens is that the image is drawn on top of itself 5 times, with each render being separated from the other by the distance chosen by the split/separation slider.
In addition, the values entered in the edit boxes indicate how heavily they are drawn relative to the others. So, if you enter 1 in all the boxes - except for the middle one where you enter 10 - the resultant image will be that the centre image is 10 times more visible than the other 4.
That is - if you enter positive values. If you enter negative values, the relevant image is subtracted from the scene which can result in some useful effects.
Finally, you can elect to smoothly draw between the separated images. This is useful for creating blurs or illuminative effects, though can be quite CPU intensive.
A lot of the special effects used in the program were created using this tool - so don't underestimate it's value! Again, the best way to get to grips with it is to experiment yourself and see how your changes effect the resultant display.
[ Back to Help ]
|
| | | |
|